01
What beatmatching is & why it matters
Beatmatching is making two songs play at exactly the same speed and lining their beats up so they sound like a single track. When it's done right, you can fade from one song to another and the rhythm never stumbles — the dancefloor doesn't even notice the join. Get it wrong and you hear a horrible 'galloping' sound as the two beats fight each other.
There are two parts to it, and we'll take them one at a time. First, tempo: the two tracks must run at the same speed, measured in BPM (beats per minute). A track at 124 BPM played over one at 128 will slowly drift apart. Second, phase: even at the same speed, the beats have to actually land on top of each other — kick on kick — not slightly offset.
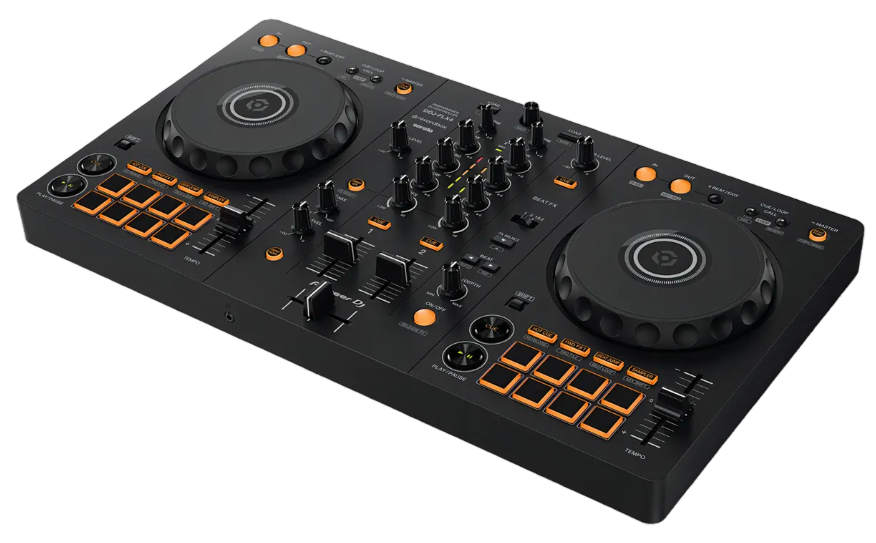
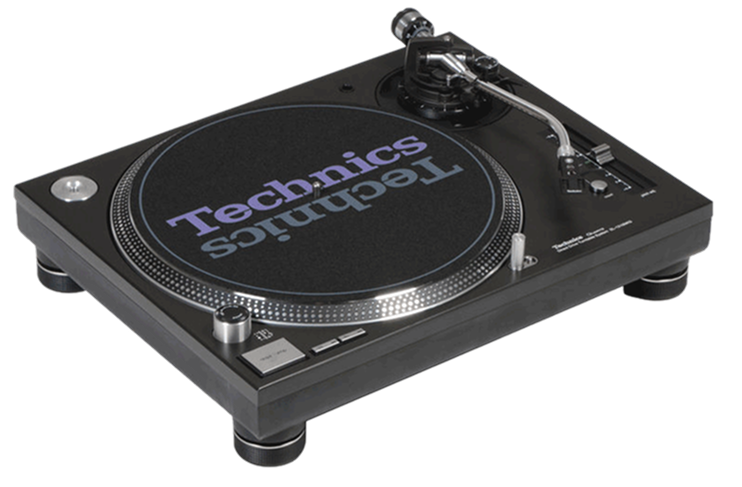
Every controller has a Sync button that does this instantly, and there's no shame in using it. But learning to do it by ear is worth the effort: it trains the listening skills that make all your mixing better, it works on any gear (including turntables with no Sync), and it saves you when Sync misreads a track. Master this and everything else in DJing gets easier.
02
Match the tempo (BPM) by ear
Start with tempo. Your software or player shows each track's BPM, so begin by moving the next track's tempo fader until its number is close to the track that's playing — that gets you in the ballpark. But the numbers are just a starting point; your ears do the real work, because analysed BPM can be slightly off.
Here's the routine. Get track A playing out loud. Start track B in your headphones (we'll cover the headphone setup properly in lesson 4). Listen to the steady kick drum of each. If track B's beats slowly creep ahead of track A's, B is a touch too fast — nudge its tempo fader down a hair. If B falls behind, it's too slow — nudge it up. You're hunting for the point where the two kicks stay locked together over many bars instead of drifting.
The drift is the clue: a fast drift means you're far off, a slow drift means you're close. Make smaller and smaller tempo adjustments until the two tracks can play together for a long stretch without separating. Once the tempo holds steady, you've done half the job — now you just need the beats to land on top of each other.
03
Line up the beats (phase)
Two tracks can run at the identical tempo but still sound wrong because their beats are offset — track B's kick lands halfway between track A's kicks. That's a phase problem, and you fix it by nudging the track, not its tempo.
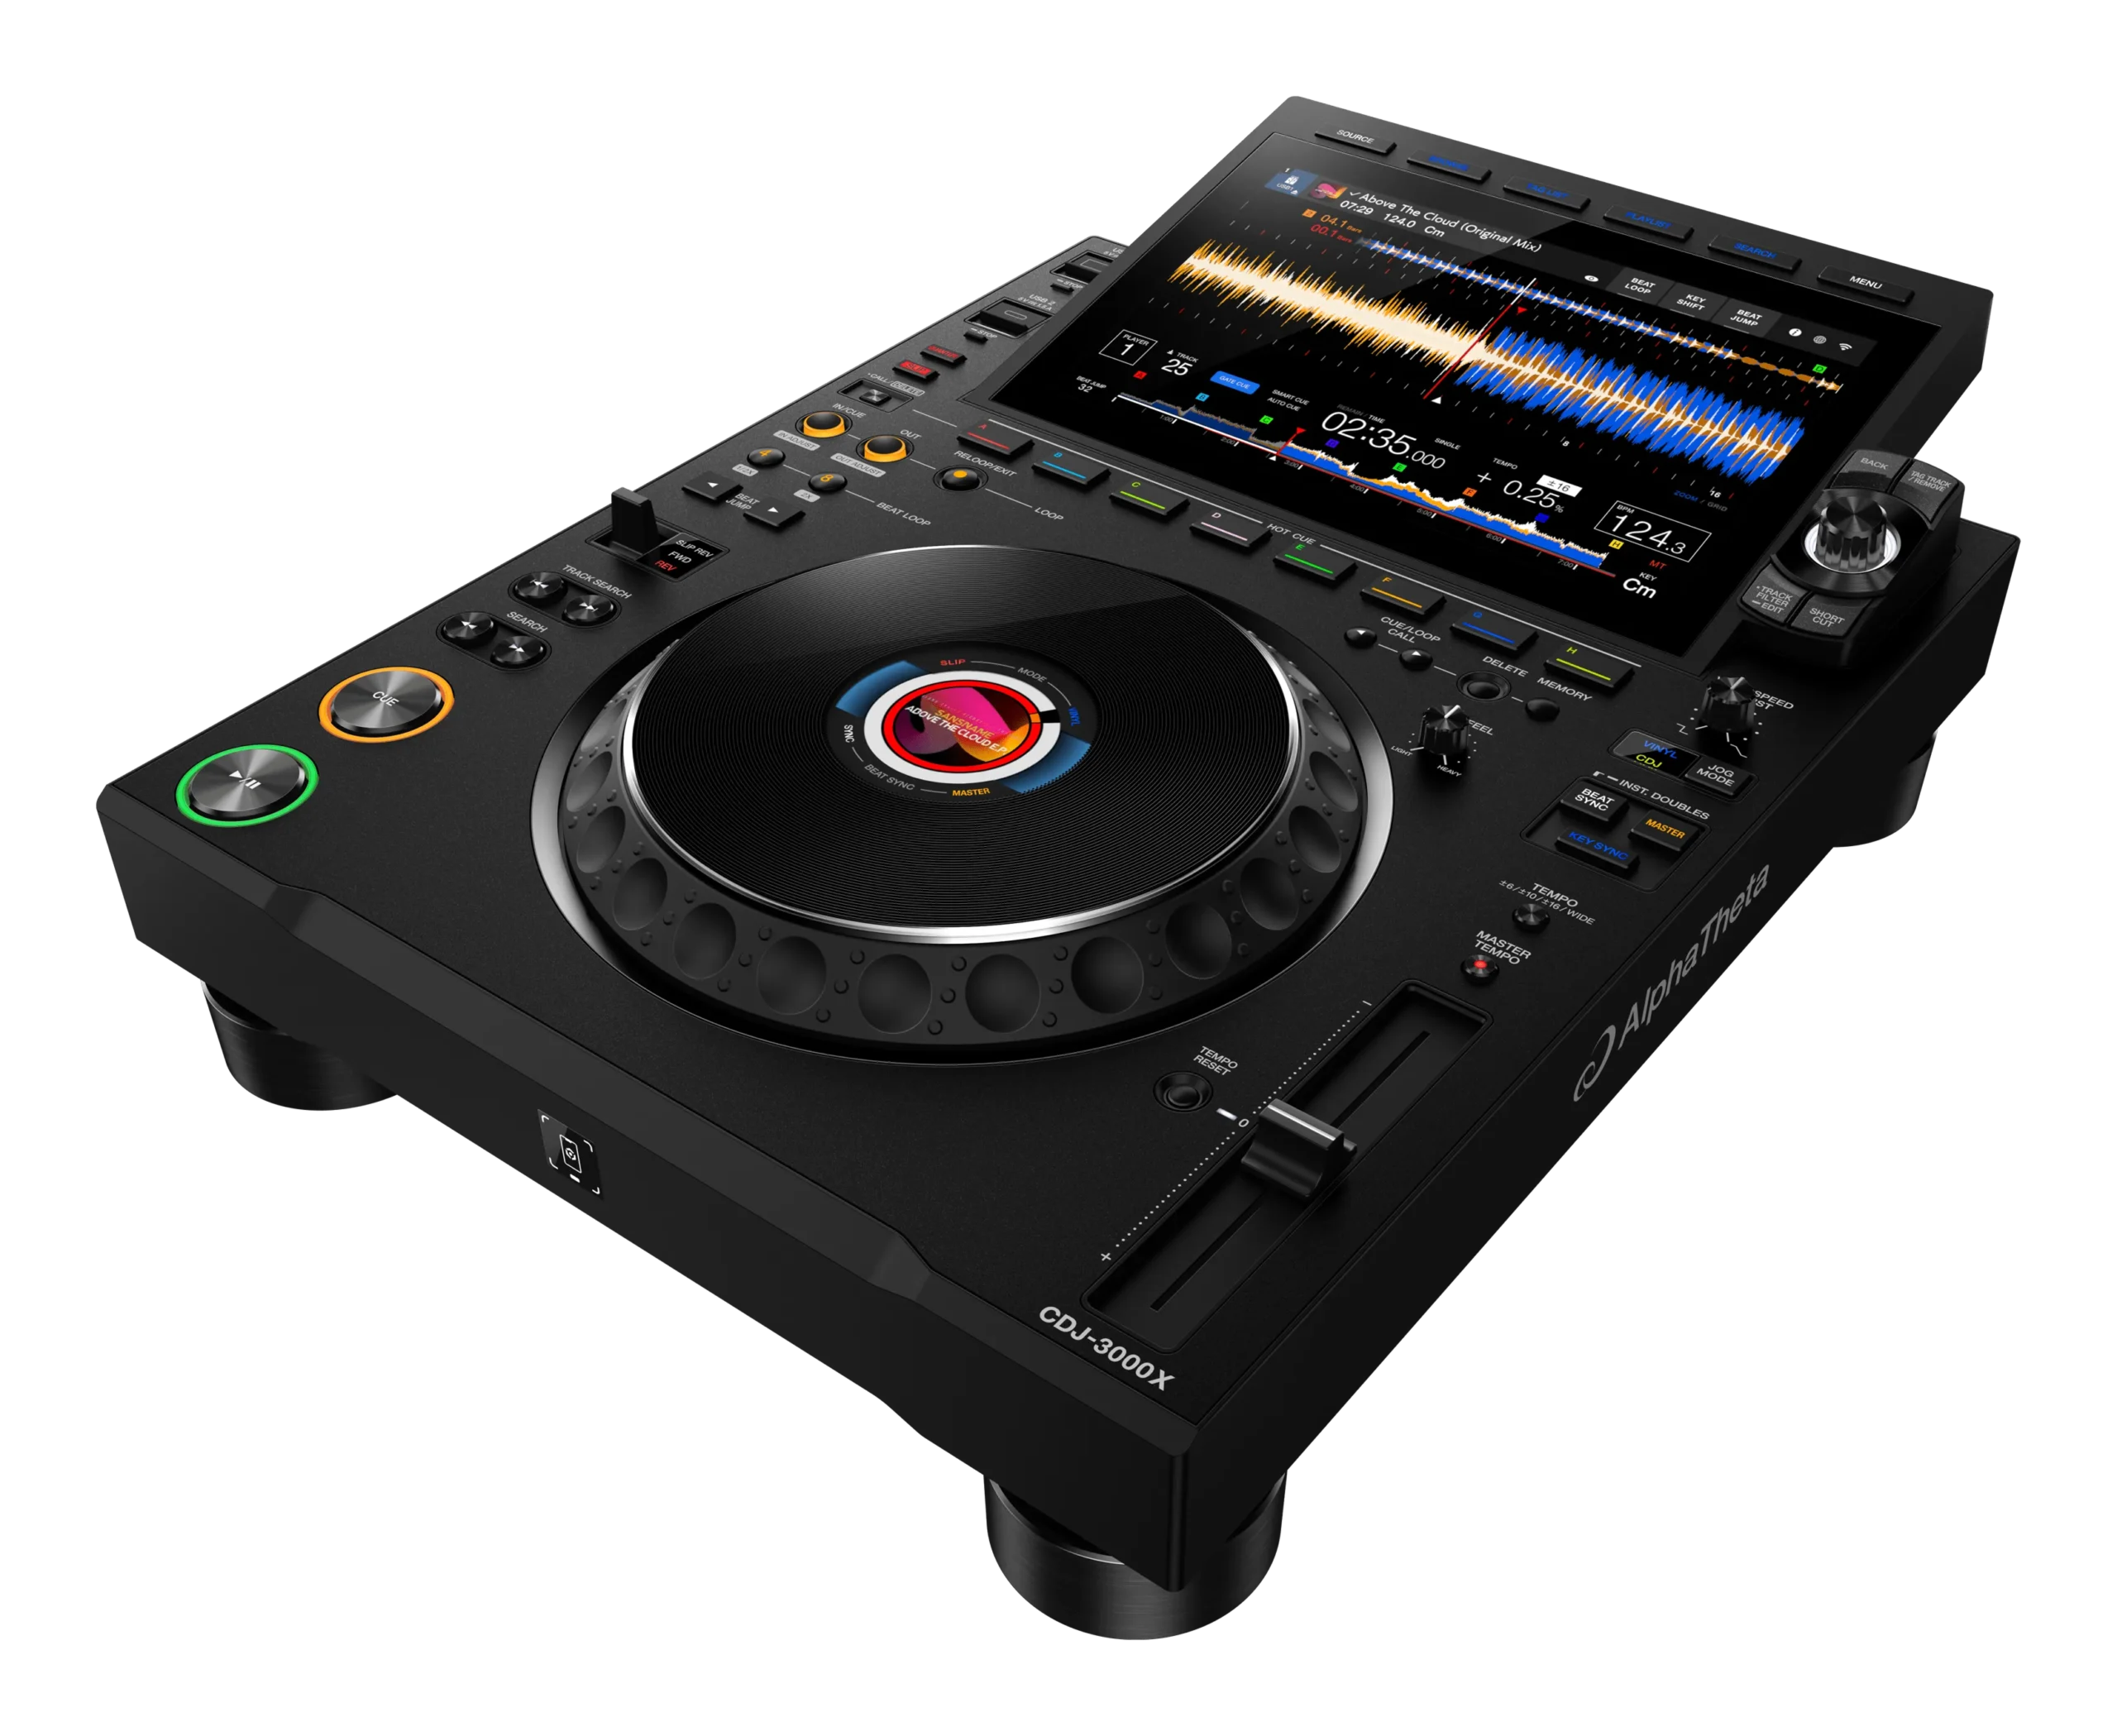
The tool is the jog wheel (or your hand on a platter). With both tracks playing at matched tempo, listen for whether B's beat is landing just before or just after A's. If B is slightly behind, give the jog wheel a quick forward nudge to push it forward and catch up; if B is ahead, a backward nudge — or briefly touch the platter to slow it — to let A catch up. You're not changing the speed, just shoving the beat into alignment, like giving a swing a push at the right moment.
When they lock, the two kicks become one solid thump instead of a 'd-dum, d-dum' flam. Because the tempos are matched, once you've nudged them into phase they'll stay there. If they slowly drift apart again, your tempo isn't quite right yet — go back, fine-tune the fader, then re-align the phase. Tempo keeps them together; phase puts them together. You need both.
04
The headphone & cue workflow
All of this happens privately, in your headphones, while the crowd hears only the current track. The tool that makes it possible is your mixer's cue system. Press the headphone Cue button on the channel of the track you're preparing, and that track plays in your headphones only — never out of the speakers.
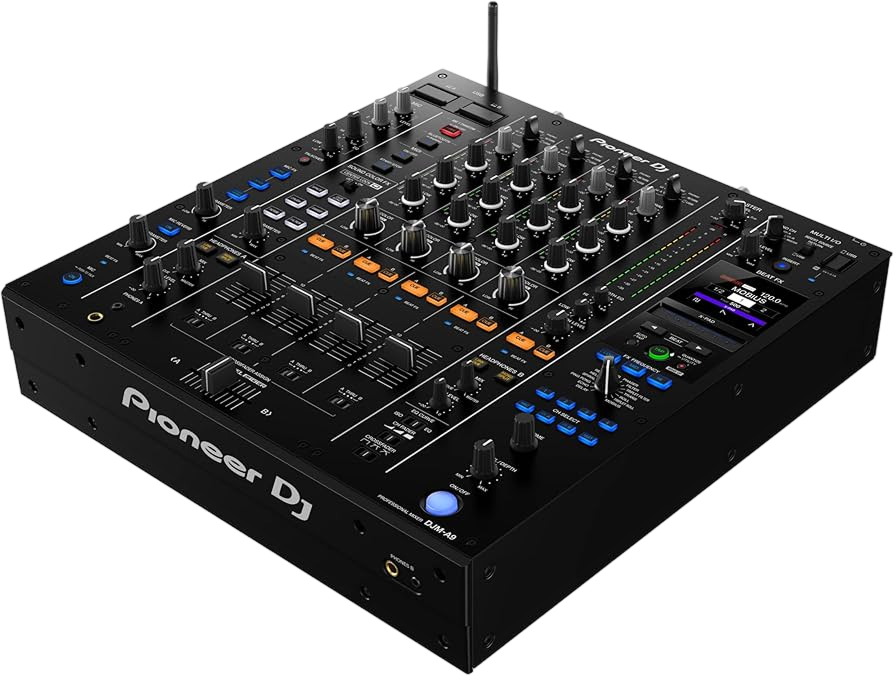
A Headphone Mix knob lets you blend what you hear: turn it toward Cue to hear only the track you're prepping, or toward the centre to hear the cued track and the live master mix together. Many DJs beatmatch with that blend so they can directly compare the incoming track against the one playing out. Some mixers have a Split Cue switch that puts the cued track in one ear and the master in the other — a clear way to compare the two beats side by side.
So the full loop is: load the next track, press its cue, find its first beat and set a cue point, then start it in your headphones and beatmatch it against the live track using tempo and phase. When it's locked and waiting at its cue point, you're ready to bring it in. Good cueing is invisible to the audience and total control for you.
05
Bring it in: the transition
You've got two tracks locked in tempo and phase, the new one waiting at its cue. Now you blend them, and the key is to avoid a muddy clash. The enemy is bass: both tracks have a kick and a bassline, and two basslines together turn to mush.
The go-to move is the bass swap. Before you raise the new track's volume, cut its LOW EQ all the way down. Now bring up its channel fader (or slide the crossfader toward it) — you'll hear its highs and mids layer over the playing track with no clash, because only one bassline is sounding. Let them ride together for a few bars so the crowd settles into the groove, then at the right moment — usually where the music naturally turns — pull the LOW out of the old track and bring the LOW up on the new one at the same time. The bass hands over cleanly, and you finish by fading out the old track entirely.
That's a transition. It works because the beats are matched (no stumble), the bass is managed (no mud), and you switched at a musical point. Start with slow, simple blends like this; the flashy stuff comes later, but a clean bass-swap blend already sounds professional.
06
Practice plan & when to use Sync
Beatmatching is a physical skill, like learning an instrument, so it comes from reps, not reading. Here's a plan that works. Pick two tracks you know well with steady four-on-the-floor beats and similar BPMs — that's the easiest starting point. Practise just lesson 2 (matching tempo) until you can hold two tracks together for thirty seconds without them drifting. Then add lesson 3 (phase) until you can lock them on command. Only then practise the full transition. Do fifteen focused minutes a day and you'll feel it click within a couple of weeks.
Record your practice and listen back — you'll hear drift and clashes you missed in the moment, and fixing one thing each session makes you better fast.
And the Sync button? Use it without guilt. Professionals use Sync all the time so they can focus on selection, effects and reading the room. But learn to beatmatch by ear anyway, because it builds the listening skills that improve everything else, it works when Sync fails or on gear that doesn't have it, and it gives you a deeper feel for the music. Think of Sync as a tool you choose to use — not a crutch you depend on because you never learned.