01
What the DJM-A9 is & the layout
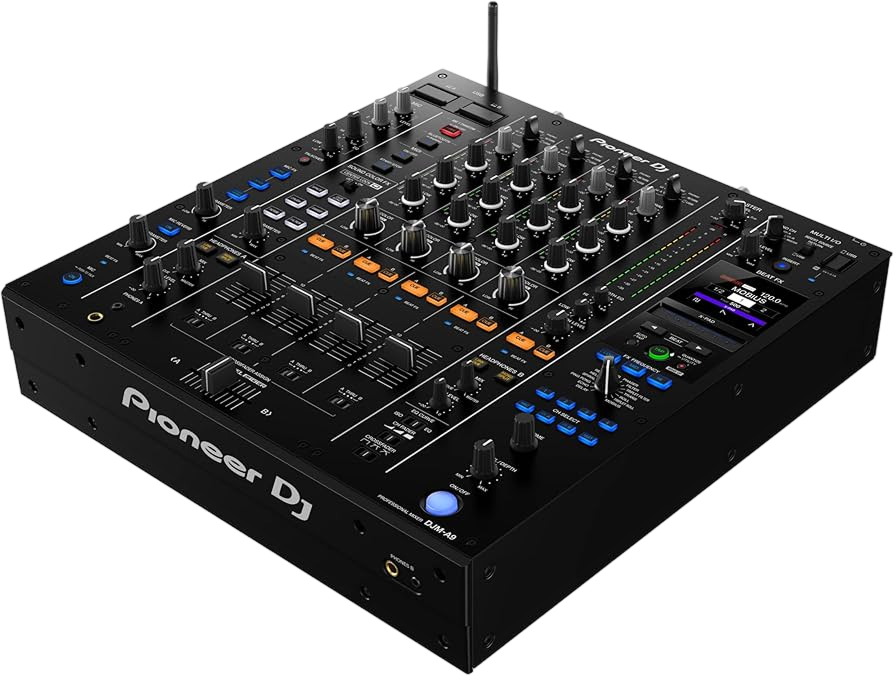
The DJM-A9 is Pioneer DJ's flagship four-channel club mixer, and it sits at the heart of a professional setup. On its own it makes no music — your players (CDJs, turntables, a laptop) plug into its channels, and the mixer is where you blend them into one continuous set. It's the club standard, so learning it means you can walk into almost any professional booth and feel at home.
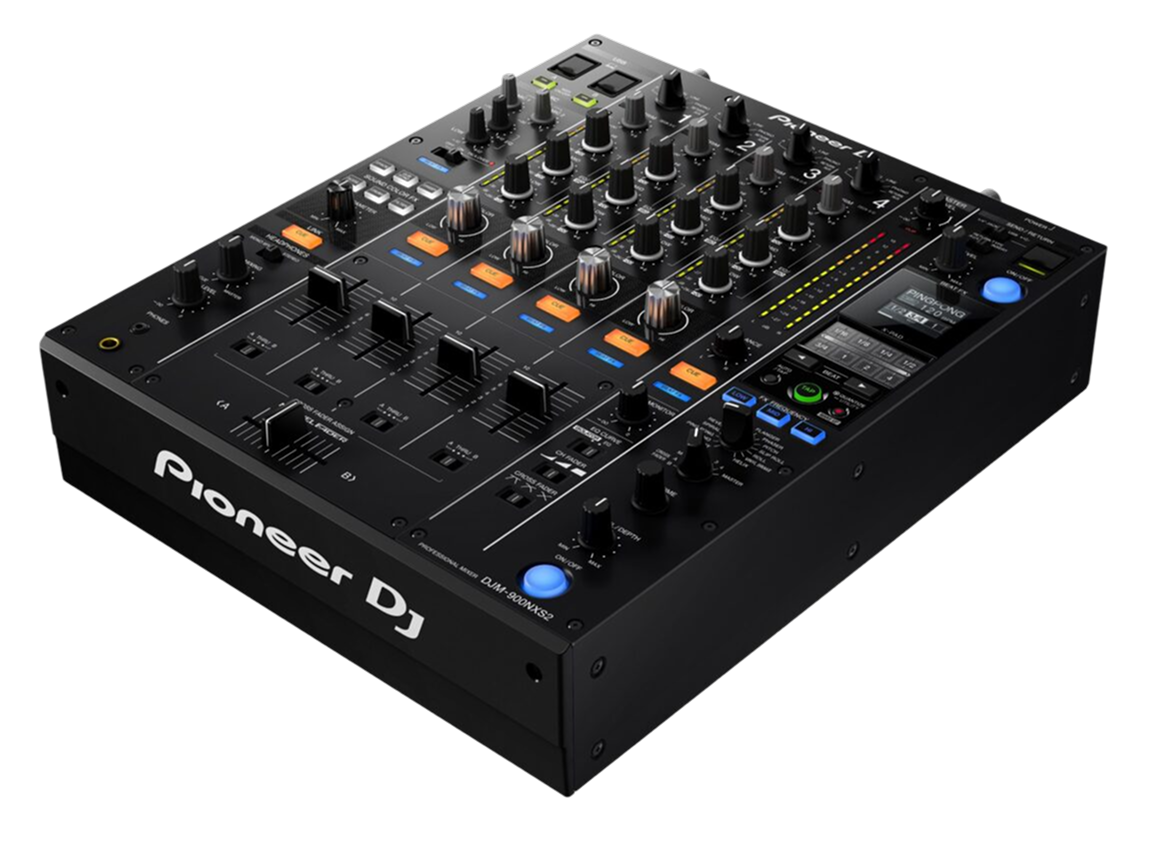
Think of it in vertical strips. Each of the four channels has, from top to bottom: a trim (gain) knob, three EQ knobs for highs, mids and lows, a Sound Color FX control, a headphone cue button, and a channel fader. Along the bottom sits the crossfader. To the right is the Beat FX section with its display and X-Pad, and there's a master and booth output section plus microphone and headphone controls. A mixer looks busy, but it's really just those four identical strips plus effects — learn one strip and you know them all.
02
Gain, EQ & the bass swap
Great mixing starts with clean levels, called gain staging. Use each channel's trim knob so the channel meter peaks near the top of the green, just short of the red, when the track is at its loudest. Do this for every track and they'll all sit at a consistent volume — no sudden jumps when you switch, and no distortion. It's the unglamorous habit that instantly makes you sound professional.
Now the heart of mixing: the bass swap. Two tracks both carrying bass turn to mud, so you never just push a new track's fader up. Instead, cut the new track's LOW EQ to zero, raise its channel fader so its highs and mids ride on top of the playing track, and — at the moment of the switch — pull the bass out of the old track while you bring it up on the new one. The low end hands over cleanly and the crowd barely hears the join. The mid and high EQs help too: dipping the mids on one track makes room for a vocal on the other. EQ is how you fit two songs together — master the bass swap and your blends will sound finished.
03
The Magvel crossfader & scratching
The crossfader slides the sound between the left and right sides of the mixer, and the DJM-A9's third-generation Magvel crossfader is smooth, durable and precise enough for scratching. Its behaviour is set by the curve control. A gradual curve makes the fader fade slowly across its travel — ideal for long, blended transitions. A sharp curve makes the sound jump fully on with just a tiny movement at each edge — that's the 'cut' setting scratch DJs use.
For normal mixing you'll often leave the crossfader in the middle (or out of the picture) and blend with the channel faders and EQ instead. But assign two channels to the crossfader, set a sharp curve, and you can scratch: with a record or a CDJ moving a sound, a flick of the crossfader chops it on and off in rhythm. Even if you never battle-scratch, knowing how to set the curve and use the crossfader for a quick cut between two tracks is a valuable tool — and the Magvel fader is light and accurate enough to make it feel effortless.
04
Sound Color FX & Center Lock
Sound Color FX are the DJM's signature: a single knob on each channel that adds an instant effect, swept by how far you turn it from the centre. The most-used is the Filter — turn one way for a high-pass that strips the bass and builds tension before a drop, the other way for a low-pass that muffles the highs as a track leaves. Others include Noise (adds rising noise for a riser effect), Dub Echo and Crush. Because there's one per channel, you can apply a different colour to each track in your blend.
The DJM-A9 adds Center Lock, a clever touch: it stops the knob from accidentally crossing over the centre point between the low and high sides, so a filter sweep you meant to keep on the high-pass side won't suddenly jump to low-pass mid-performance. Turn it on while you're learning and your sweeps stay tight and intentional. The skill with Sound Color FX is timing and restraint: a slow filter sweep that breathes with the music is one of the most professional, crowd-moving moves there is — far better than twisting knobs at random.
05
Beat FX & the X-Pad
Beat FX are the bigger, tempo-synced effects, and the DJM-A9 has fourteen — echo, reverb, flanger, the classic Roll and newer ones like Mobius and the Triplet effects. Because they lock to the beat, an effect lands musically: choose one, set how many beats it spans (a 1-beat echo is tight and rhythmic, a 4-beat is a big wash), select the channel it hits, and bring it in with the on/off control while you ride the depth.
The X-Pad — now arranged horizontally for easy sideways finger sliding — lets you perform an effect by dragging across it, instantly changing the beat division or the effect's intensity as you move. It turns an effect into something you play with your finger, perfect for building a riser into a drop or smearing the end of a phrase. The golden rule, as always, is restraint: a single, well-timed echo tail as a track ends is a smooth, professional exit; constant effects just bury the music. Learn one effect, find its sweet spot, and use it with intention.
06
Connecting a club setup: mics, Bluetooth & I/O
A mixer is the hub of the booth, so knowing the connections matters. Your players — CDJs, turntables or a laptop — plug into the channel inputs (turntables use the phono inputs; line sources use line). The master output goes to the main speakers and the separate booth output feeds your monitor so you can hear yourself without being deafened by the room. The DJM-A9 also has a Bluetooth input on every channel, so you can stream from a phone and still use all the EQ and effects — handy for a quick request or a mobile gig.
The microphone section takes a high-quality condenser mic thanks to phantom power, and has its own EQ and effects including a reverb, so announcements sit cleanly on top of the music. Two top-mounted USB ports (USB-B and USB-C) connect laptops for DVS or recording. A few pro habits tie it together: gain-stage every source so levels match, keep your booth volume comfortable so you mix by what the crowd hears, and record your sets from the master to review later. Wire it cleanly and the DJM-A9 becomes the reliable heart of any set you play.