01
What scratching is & what you need
Scratching is moving a sound back and forth by hand while controlling its volume with the crossfader, to turn a single sound into rhythmic, musical patterns. It's the heart of turntablism, and while the pros make it look impossibly fast, the foundation is simple and learnable.
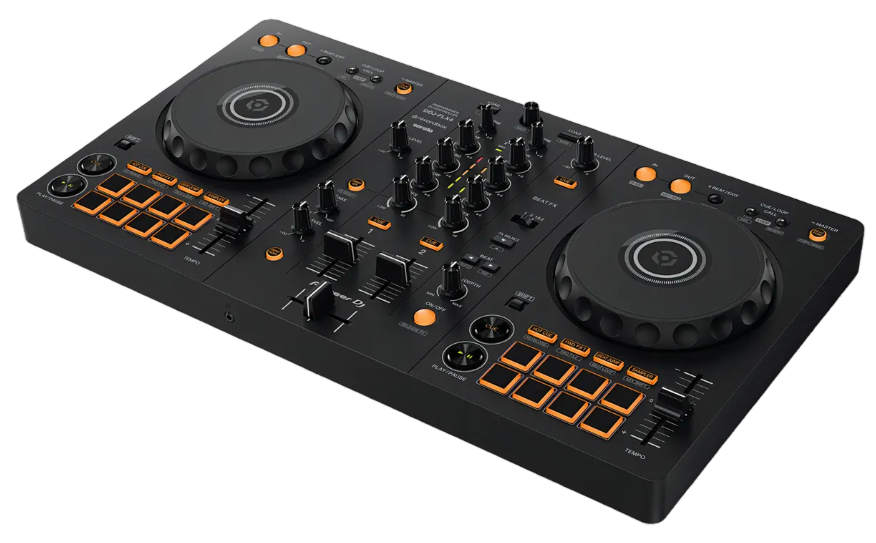
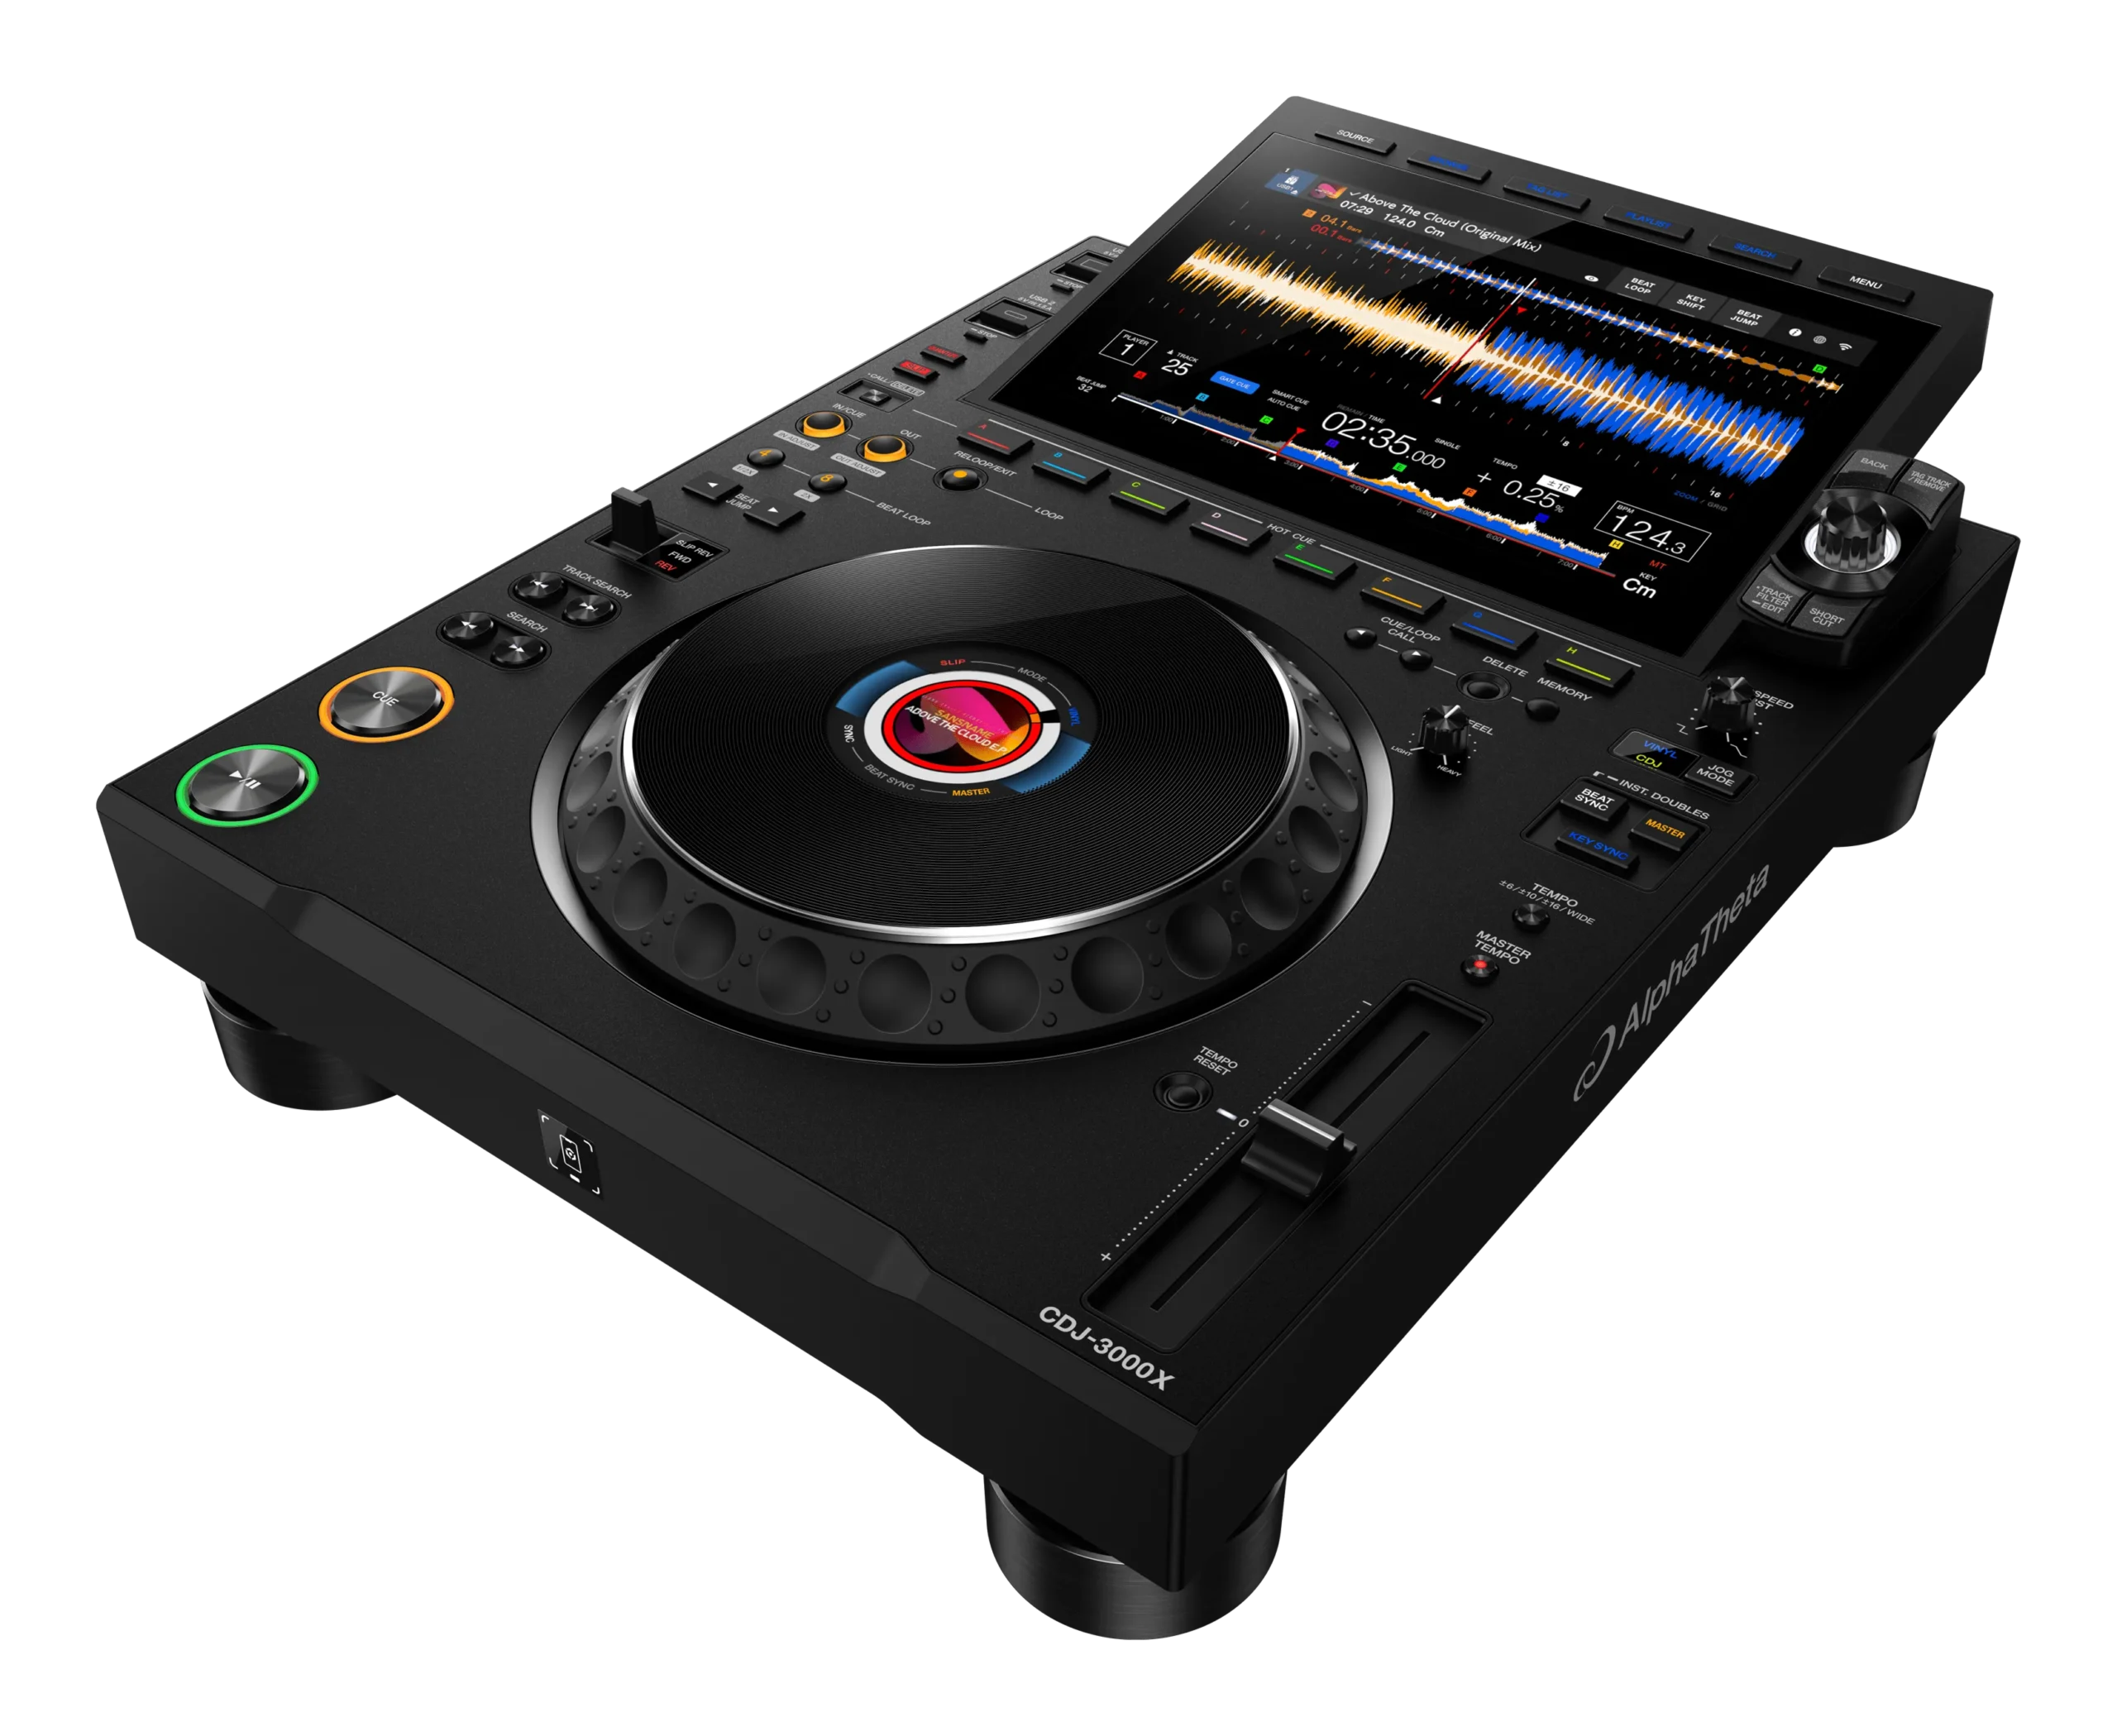
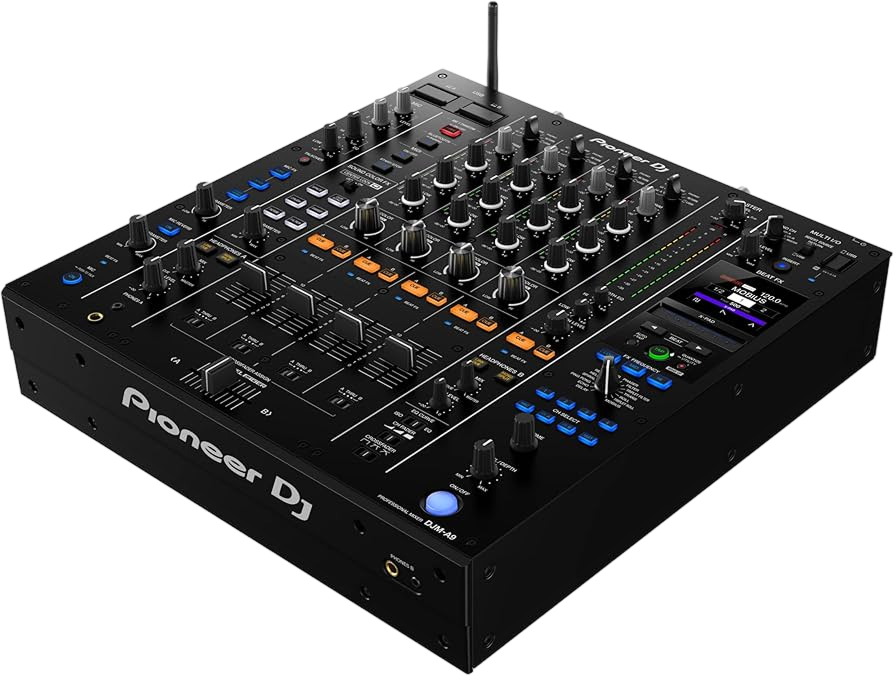
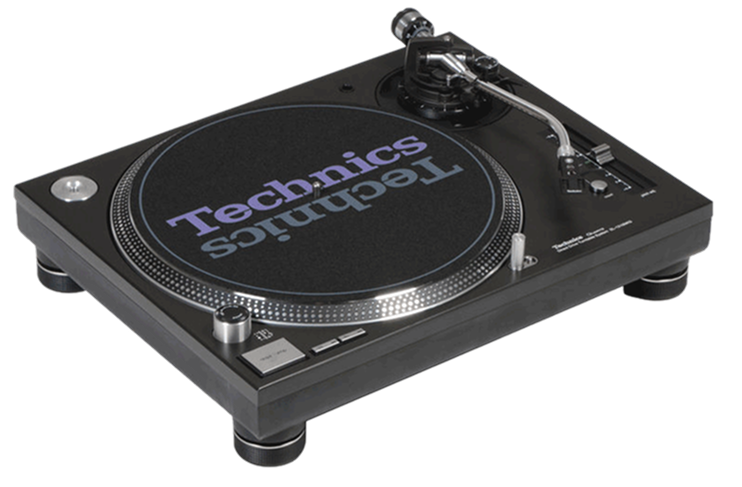
You need three things. First, a deck you can move by hand: a real turntable with a record, a motorized controller like the DDJ-REV7 whose platters spin like vinyl, or any controller with a 'vinyl mode' jog wheel (it won't feel quite like a record, but you can learn the moves on it). Second, a sound to scratch — scratch DJs use a 'scratch sentence' or a sharp sound with a clear start, like a vocal stab ('ahh', 'fresh') or a horn hit; these come on scratch records or can be loaded to a Scratch Bank on modern gear. Third, a mixer with a crossfader set to a sharp 'cut' curve, so a small fader movement fully opens or closes the sound.
Set a comfortable height and position so both hands move freely — one on the platter, one on the crossfader. That two-handed coordination is the whole game, and the next lessons build it one move at a time.
02
The baby scratch
The baby scratch is the foundation of all scratching, and it uses only one hand — no crossfader yet. Find your sound and cue it up to its sharp start. Now simply push the record (or platter) forward to play the sound, then pull it back to rewind it, in a steady rhythm: forward-back, forward-back. That's it — that's a baby scratch. The crossfader stays open the whole time, so you hear the sound play forwards and backwards as you rock it.
The goal at this stage is rhythm and control, not speed. Put on a simple beat and baby-scratch in time with it — push forward on the beat, pull back on the off-beat. Keep your movements relaxed and even; tension in your hand is the enemy. Listen to how the sound stretches and compresses as you change how fast you move — a quick push makes a short, sharp sound, a slow one stretches it out.
Drill the baby scratch until it feels natural and stays in time with a beat. It seems almost too simple, but every advanced scratch — the chirp, the flare, the crab — is just a baby scratch with crossfader cuts added on top. Master this one move cleanly and you've built the foundation for all of it.
03
The crossfader & the cut
Now bring in the crossfader, the second hand that turns motion into music. Assign your scratch sound to one side of the crossfader and set the fader curve to sharp ('cut'), so the sound is fully on at one edge and fully off after a tiny movement. With a sharp curve, the crossfader becomes a fast on/off switch for your sound.
The basic move is the cut: while you're moving the record, you use the fader to chop the sound on and off, so only the parts you want are heard. For example, push the record forward with the fader open (you hear the sound go out), then close the fader as you pull the record back (so the rewind is silent) — that's a 'forward scratch', and it sounds completely different from a baby scratch even though the hand on the record is doing the same thing. The fader hand is editing what the crowd hears.
Start slow and coordinate the two hands: open on the push, closed on the pull. It feels awkward at first — your hands want to do the same thing — but with practice they learn to work independently. This independence, record-hand doing one thing while fader-hand does another, is the core skill of scratching, and once it clicks, a whole vocabulary of patterns opens up.
04
Your first patterns
With the baby scratch and the cut in your hands, you can build your first named patterns. The forward scratch you just met — push out with the fader open, close on the way back — gives you clean, repeated stabs of the sound. Reverse it (closed on the push, open on the pull) for a backward version.
The chirp is a classic next step: open the fader as you start to push, then close it as the push ends, and do the same on the pull — so each movement makes a short 'chirp' sound that rises and falls. It's two cuts per record movement, and it teaches tight fader timing.
The transformer is about the fader hand: hold the record moving steadily in one direction while you rapidly tap the crossfader open and closed, chopping the continuous sound into a stuttering, robotic pattern. Here the record hand is simple and the fader hand does the rhythm — the opposite emphasis from the chirp, which is great for developing fader control.
Learn these one at a time, slowly, with a metronome or simple beat. Each is just a specific combination of record movement and fader cuts. Once you can do forward, chirp and transformer cleanly and in time, you've got the building blocks of scratching — everything more advanced (flares, crabs, orbits) combines these same elements faster and with more fader fingers.
05
How to practise & improve
Scratching is pure muscle memory, so improvement comes from consistent, focused practice — not marathon sessions once a month, but a little most days. Here's what works. Always practise to a beat: a simple loop or drum pattern keeps you in time and makes your scratches musical rather than random noise. Start every move slowly enough to do it cleanly, then speed up only once it's clean — sloppy fast scratching is just noise, while clean slow scratching already sounds good.
Drill one thing at a time. Spend a session just on the baby scratch, another just on the forward, another on the chirp. Trying to learn everything at once means learning nothing well. Break a move into its two hands if you're struggling — practise the record movement alone, then the fader pattern alone, then combine them.
Record yourself and listen back; you'll hear timing slips and dirty cuts you missed in the moment, and fixing one each session adds up fast. And be patient: scratching has a steeper learning curve than mixing, and everyone fumbles at first — the DJs who got good simply kept drilling the basics until their hands knew them. Put in fifteen focused minutes a day on clean fundamentals, and within a few months you'll be cutting up records with real rhythm and confidence.